It appears that you all like the thumbnails on Frugal Friday as much as I do...so they shall remain! Thanks to everyone who weighed in the subject.
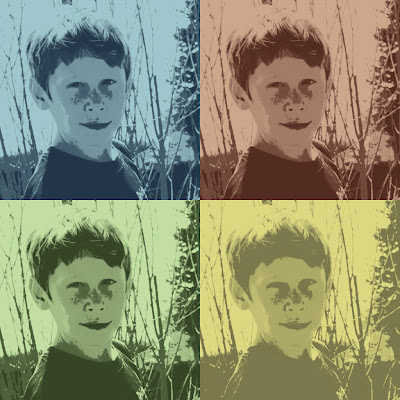
Yesterday I promised to share with you a fabulous art idea that I created for Mr. One's room. It's my version of Pop Art....created on Picnik.com. I have talked about my love of Picnik before. But for those of you who don't know what Picnik is...it's a photo editing website that is super user friendly, and a lot of what they have to offer is free of charge. In fact, the entire art piece I created used only Picnik's free actions...so if you like it, you can make one too at no charge!
Now let's get down to business, shall we? I started with a photo of Mr. One which I uploaded to the site.
1. Then under the "create" tab, I chose an action called "posterize"...the photo below is one of the princess that has been posterized...you can see how it makes the image look almost illustrated.

2. Then because I was going for a Warhol-esque pop art look, I needed to change the color....4 times. To accomplish this, I used the "duo tone" action. This lets you choose two colors for your image. For each of the four colors I wanted (red, yellow, green and blue) I choose two shades...one light and one dark. I also played around with the brightness and fade until I got the look I was going for.
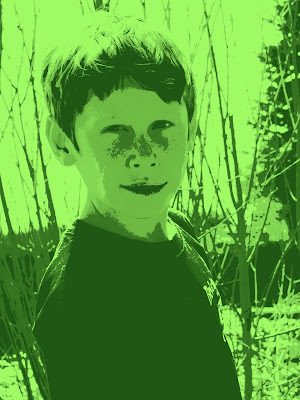
3. Once you have the color combo you're looking for, save the photo. But so you don't have to go through the first few steps again, when Picnik asks if you want to close the image or continue editing, choose "continue editing" and go back to the duo-tone action. Play around with the next set of colors...then save. etc.
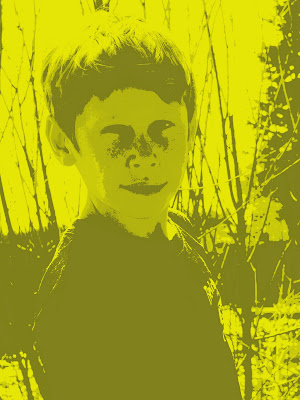
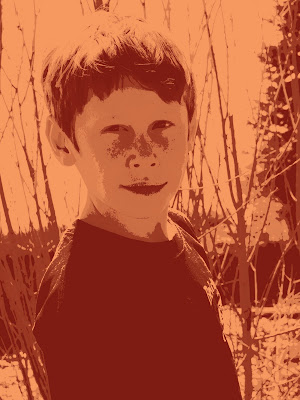

4. Once you've created all four colors, you're going to choose the collage option on the Picnik home page. Then choose a 4 part grid and set the border width to zero (so you don't have any lines between the 4 photos.)
5. Picnik will ask you to upload each photo and lets you drag it into place in the collage. Once your collage is complete click done. Then you can create effects on your collage if you're so inclined.
6. Once I finished my collage, I decided the colors were too bright, so I dulled them down by adding just a touch of black and white, and a touch of sepia. That's it!
And here's the finished product!! I'm so excited with how this turned out. It's being printed right now, so I'll have to show you the framed-and-on-the-wall version next week! Until then, go play around with some of your own images at Picnik...you'll love it!!
Now it's your turn...
You know "da rules"!
1. Link directly to your post, not just to your blog.
2. Please link back to the Shabby Nest so others can enjoy the Frugal Goodness.
3. Comment, comment, comment. Show our participants "the love!"
2. Please link back to the Shabby Nest so others can enjoy the Frugal Goodness.
3. Comment, comment, comment. Show our participants "the love!"


No comments:
Post a Comment